The SDK UI components are useful when you want to build your own native screens but do not want to reimplement camera preview, document detection overlays, or document edge editing from scratch.
Most custom flows use both components on this page. The live capture screen produces the image, and the edit frame screen gives users a chance to refine the detected document outline before processing.
The live capture screen owns the camera stack and displays the camera preview. It can run automatic document detection, but it does not impose buttons, toolbars, or navigation. Your app provides the surrounding UI and decides when to capture.
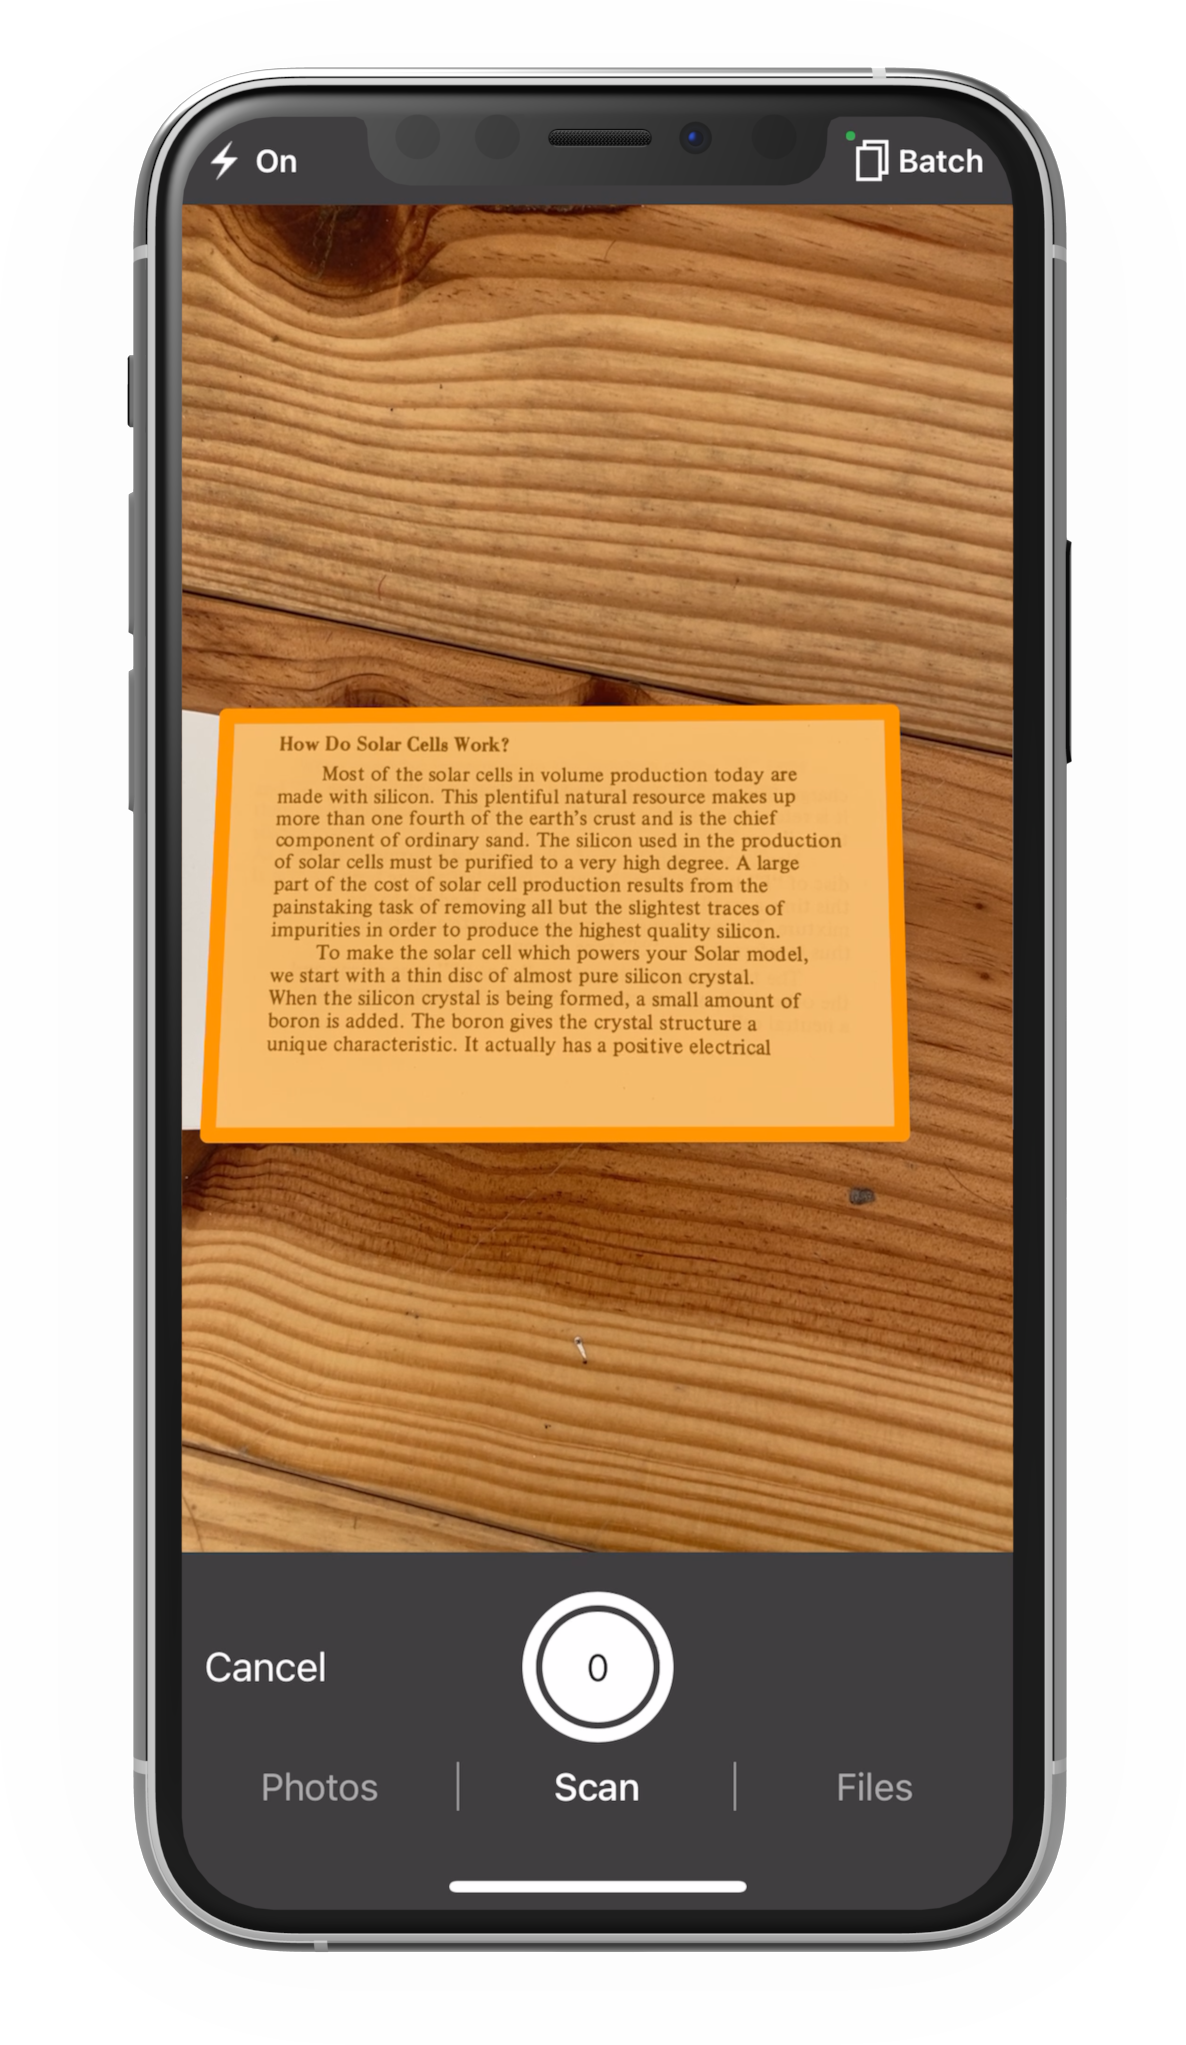
Subclass GSKCameraViewController and add your own controls around its cameraView. For a complete implementation, see CameraViewController in the iOS custom demo.
import GSSDK
import UIKit

final class CustomCameraViewController: GSKCameraViewController {
    init() async throws {
        try await super.init(configuration: .documentDetection())
    }

    override func viewDidLoad() {
        super.viewDidLoad()

        cameraView.translatesAutoresizingMaskIntoConstraints = false

        setupCustomToolbar()
    }

    private func setupCustomToolbar() {
        let captureButton = UIButton(type: .custom)
        captureButton.setTitle("Capture", for: .normal)
        captureButton.addTarget(self, action: #selector(captureDocument), for: .touchUpInside)

        view.addSubview(captureButton)
        // Add constraints...
    }

    @objc private func captureDocument() {
        takePhoto()
    }
}
GSKCameraViewController initializes the camera stack asynchronously. Present it from an async context and handle thrown errors, for example by showing an error view controller when camera access or camera initialization fails. The controller sets up a cameraView that fills the screen by default. Disable the cameraView autoresizing mask in viewDidLoad when you want Auto Layout to place your own controls around it.
import UIKit

final class CameraHostViewController: UIViewController {
    override func viewDidAppear(_ animated: Bool) {
        super.viewDidAppear(animated)

        Task { @MainActor in
            do {
                let cameraViewController = try await CustomCameraViewController()
                show(cameraViewController)
            } catch {
                show(CameraErrorViewController(error: error))
            }
        }
    }

    private func show(_ childViewController: UIViewController) {
        addChild(childViewController)
        view.addSubview(childViewController.view)
        childViewController.view.frame = view.bounds
        childViewController.view.autoresizingMask = [.flexibleWidth, .flexibleHeight]
        childViewController.didMove(toParent: self)
    }
}

final class CameraErrorViewController: UIViewController {
    private let error: Error

    init(error: Error) {
        self.error = error
        super.init(nibName: nil, bundle: nil)
    }

    required init?(coder: NSCoder) {
        fatalError("init(coder:) has not been implemented")
    }

    override func viewDidLoad() {
        super.viewDidLoad()

        view.backgroundColor = .systemBackground

        let label = UILabel()
        label.translatesAutoresizingMaskIntoConstraints = false
        label.numberOfLines = 0
        label.textAlignment = .center
        label.text = "Failed to initialize camera: \(error.localizedDescription)"

        view.addSubview(label)

        NSLayoutConstraint.activate([
            label.centerYAnchor.constraint(equalTo: view.centerYAnchor),
            label.leadingAnchor.constraint(equalTo: view.layoutMarginsGuide.leadingAnchor),
            label.trailingAnchor.constraint(equalTo: view.layoutMarginsGuide.trailingAnchor)
        ])
    }
}
Create a ScanFragment, configure it, and include it in an Activity or parent Fragment that implements ScanFragment.CameraCallbackProvider. For a complete implementation, see ScanActivity in the Android custom demo.
Add android.permission.CAMERA to your manifest and request the runtime camera permission before calling initializeCamera(). The fragment manages the camera preview, while your activity owns permission handling and the surrounding UI.
import android.media.Image
import android.os.Bundle
import androidx.appcompat.app.AppCompatActivity
import com.geniusscansdk.camera.DetectionMode
import com.geniusscansdk.camera.ScanFragment

class ScanActivity: AppCompatActivity(), ScanFragment.CameraCallbackProvider {
    private lateinit var scanFragment: ScanFragment

    public override fun onCreate(savedInstanceState: Bundle?) {
        super.onCreate(savedInstanceState)
        setContentView(R.layout.scan_activity)

        scanFragment = ScanFragment().apply {
            setDetectionMode(DetectionMode.Document)
        }

        supportFragmentManager
            .beginTransaction()
            .replace(R.id.scan_fragment_layout, scanFragment)
            .commit()
    }

    override fun onResume() {
        super.onResume()

        scanFragment.initializeCamera()
    }

    override fun getCameraCallback() = object: ScanFragment.Callback {
        override fun onCameraReady() {}

        override fun onCameraFailure() {}

        override fun onShutterTriggered() {}

        override fun onPreviewFrame(image: Image, rotationDegrees: Int) {}
    }

}
The edit frame screen lets users refine the detected document outline before processing. Use it after automatic detection when the crop needs confirmation, or when the user should be able to choose a specific part of the image.
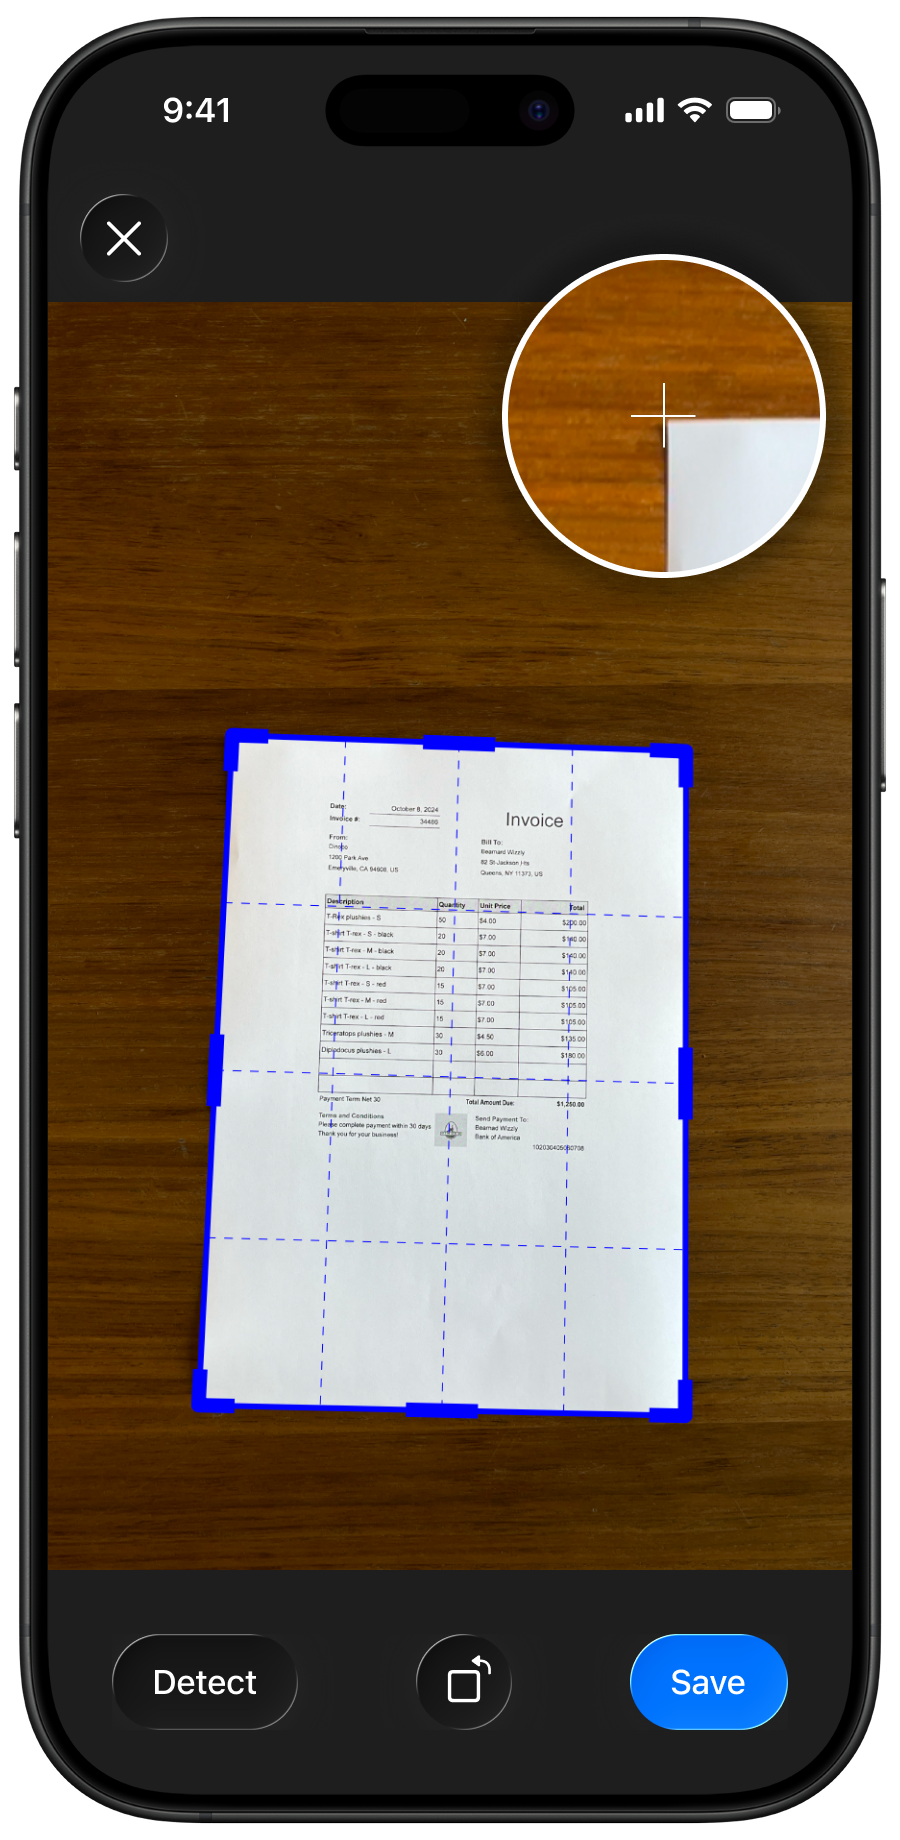
Subclass GSKEditFrameViewController and add the controls that confirm or cancel the selected quadrangle. For a complete implementation, see EditFrameViewController in the iOS custom demo.
import GSSDK
import UIKit

final class CustomEditFrameViewController: GSKEditFrameViewController {
    var onConfirm: ((GSKQuadrangle) -> Void)?

    override init(image: UIImage, quadrangle: GSKQuadrangle = .full()) {
        super.init(image: image, quadrangle: quadrangle)
    }

    override func viewDidLoad() {
        super.viewDidLoad()

        setupCustomControls()
    }

    private func setupCustomControls() {
        let confirmButton = UIButton(type: .custom)
        confirmButton.setTitle("Confirm", for: .normal)
        confirmButton.addTarget(self, action: #selector(confirmSelection), for: .touchUpInside)

        view.addSubview(confirmButton)
        // Add constraints...
    }

    @objc private func confirmSelection() {
        let adjustedQuadrangle = quadrangle
        onConfirm?(adjustedQuadrangle)
    }
}
Add BorderDetectionImageView to your layout and connect it to MagnifierView if you want corner-level magnification while the user drags the frame. For a complete implementation, see BorderDetectionActivity in the Android custom demo.
<?xml version="1.0" encoding="utf-8"?>
<LinearLayout
    xmlns:android="http://schemas.android.com/apk/res/android"
    android:layout_width="match_parent"
    android:layout_height="match_parent"
    android:orientation="vertical"
    >

    <!-- Add your surrounding controls here. -->

    <FrameLayout
        android:layout_width="match_parent"
        android:layout_height="0dp"
        android:layout_weight="1"
        >

        <com.geniusscansdk.ui.BorderDetectionImageView
            android:id="@+id/image_view"
            android:layout_width="match_parent"
            android:layout_height="match_parent"
            />

        <com.geniusscansdk.ui.MagnifierView
            android:id="@+id/magnifier_view"
            android:layout_width="166dp"
            android:layout_height="166dp"
            />
    </FrameLayout>
</LinearLayout>
import android.os.Bundle
import androidx.appcompat.app.AppCompatActivity
import com.geniusscansdk.ui.BorderDetectionImageView
import com.geniusscansdk.ui.MagnifierBorderDetectionListener
import com.geniusscansdk.ui.MagnifierView

class BorderDetectionActivity: AppCompatActivity() {
    private lateinit var imageView: BorderDetectionImageView
    private lateinit var magnifierView: MagnifierView

    public override fun onCreate(savedInstanceState: Bundle?) {
        super.onCreate(savedInstanceState)
        setContentView(R.layout.border_detection_activity)

        imageView = findViewById(R.id.image_view)
        imageView.setOverlayColorResource(R.color.blue)

        magnifierView = findViewById(R.id.magnifier_view)
        imageView.setListener(MagnifierBorderDetectionListener(magnifierView))
    }
}
After capture and frame editing, pass the image and selected quadrangle to image processing.
Start with a free trial license to test the SDK, or contact us directly for a custom quote tailored to your needs.
© 2026 The Grizzly Labs. All rights reserved.