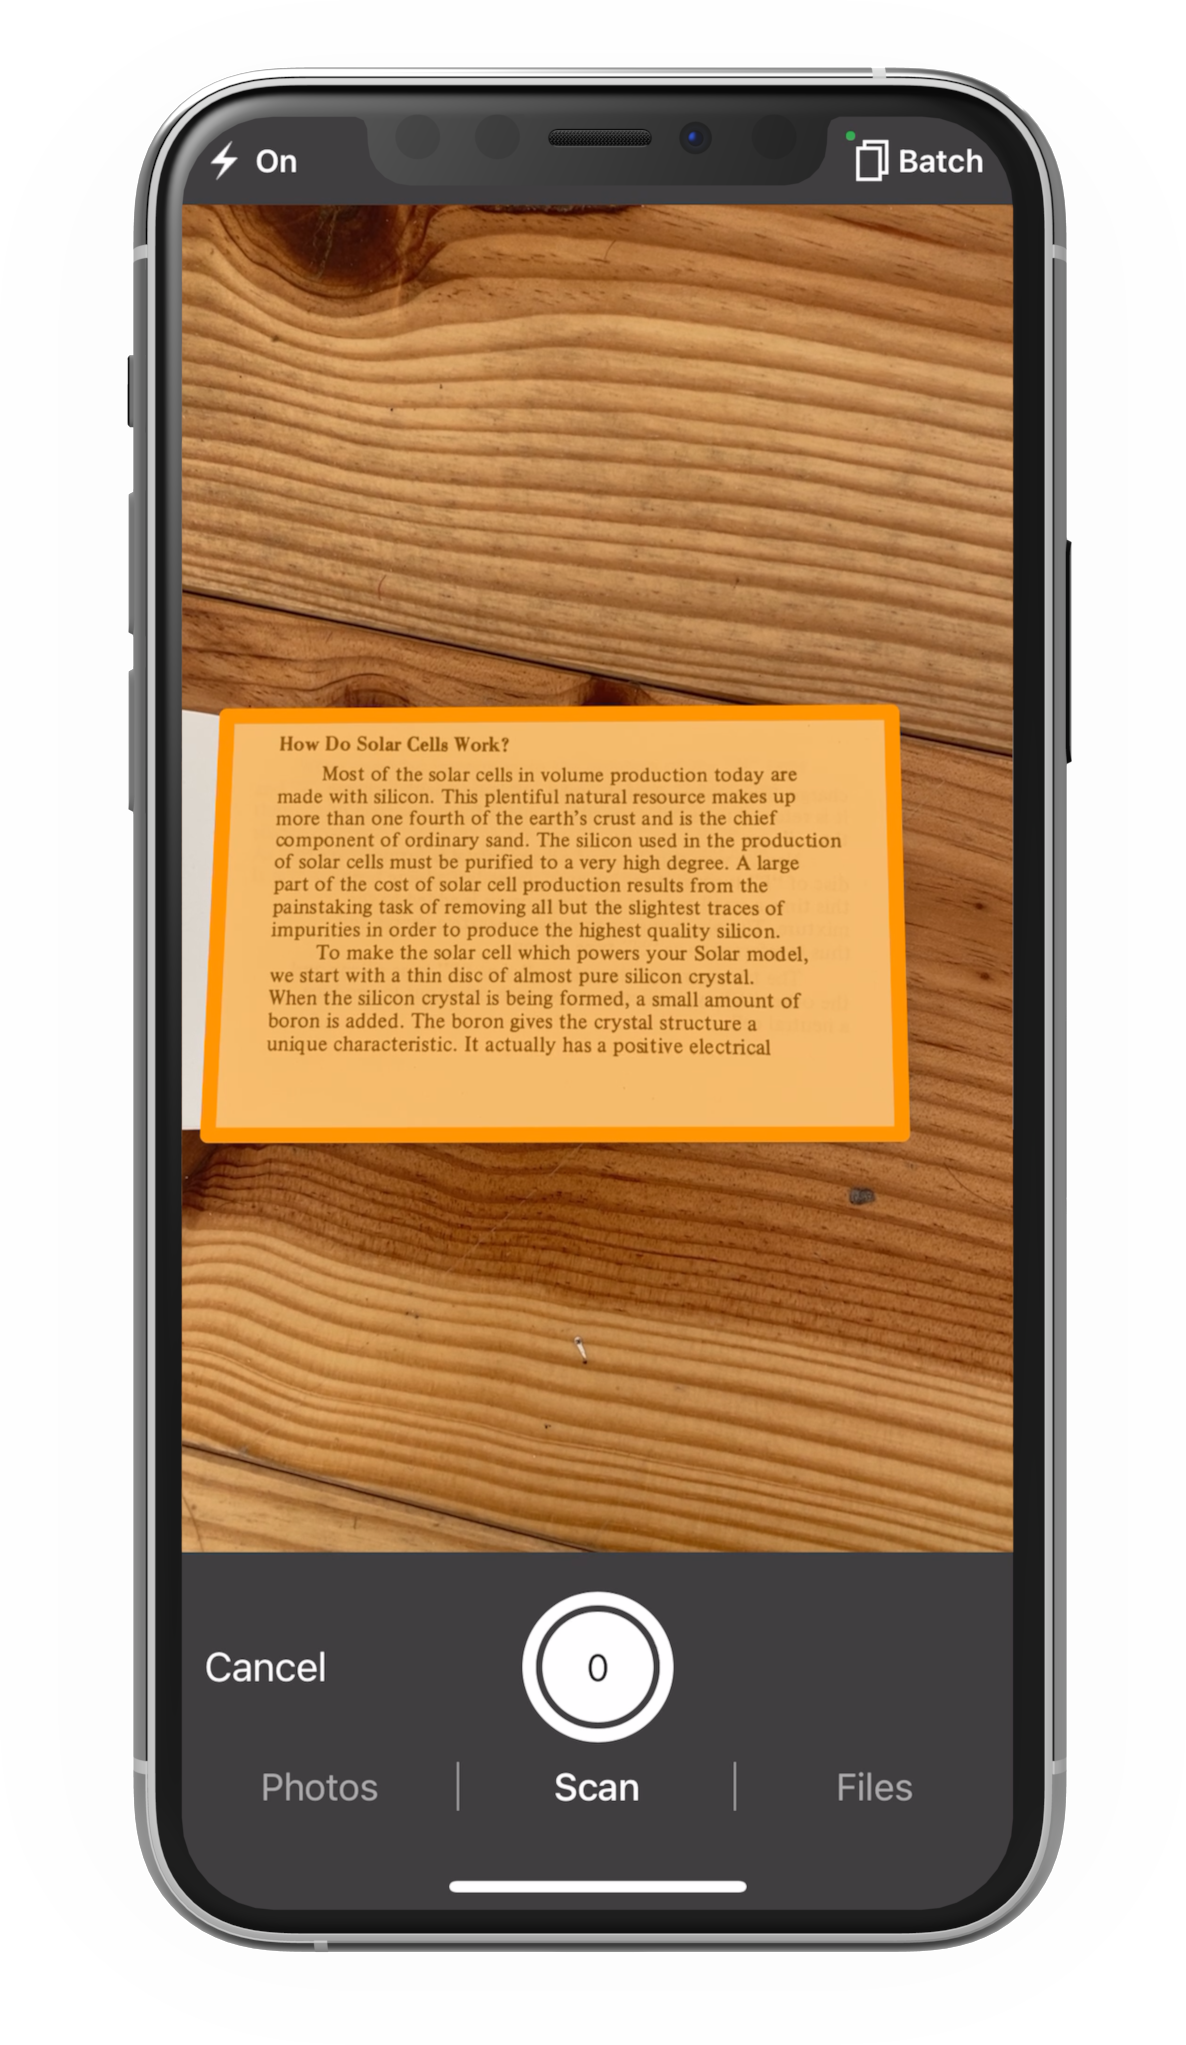
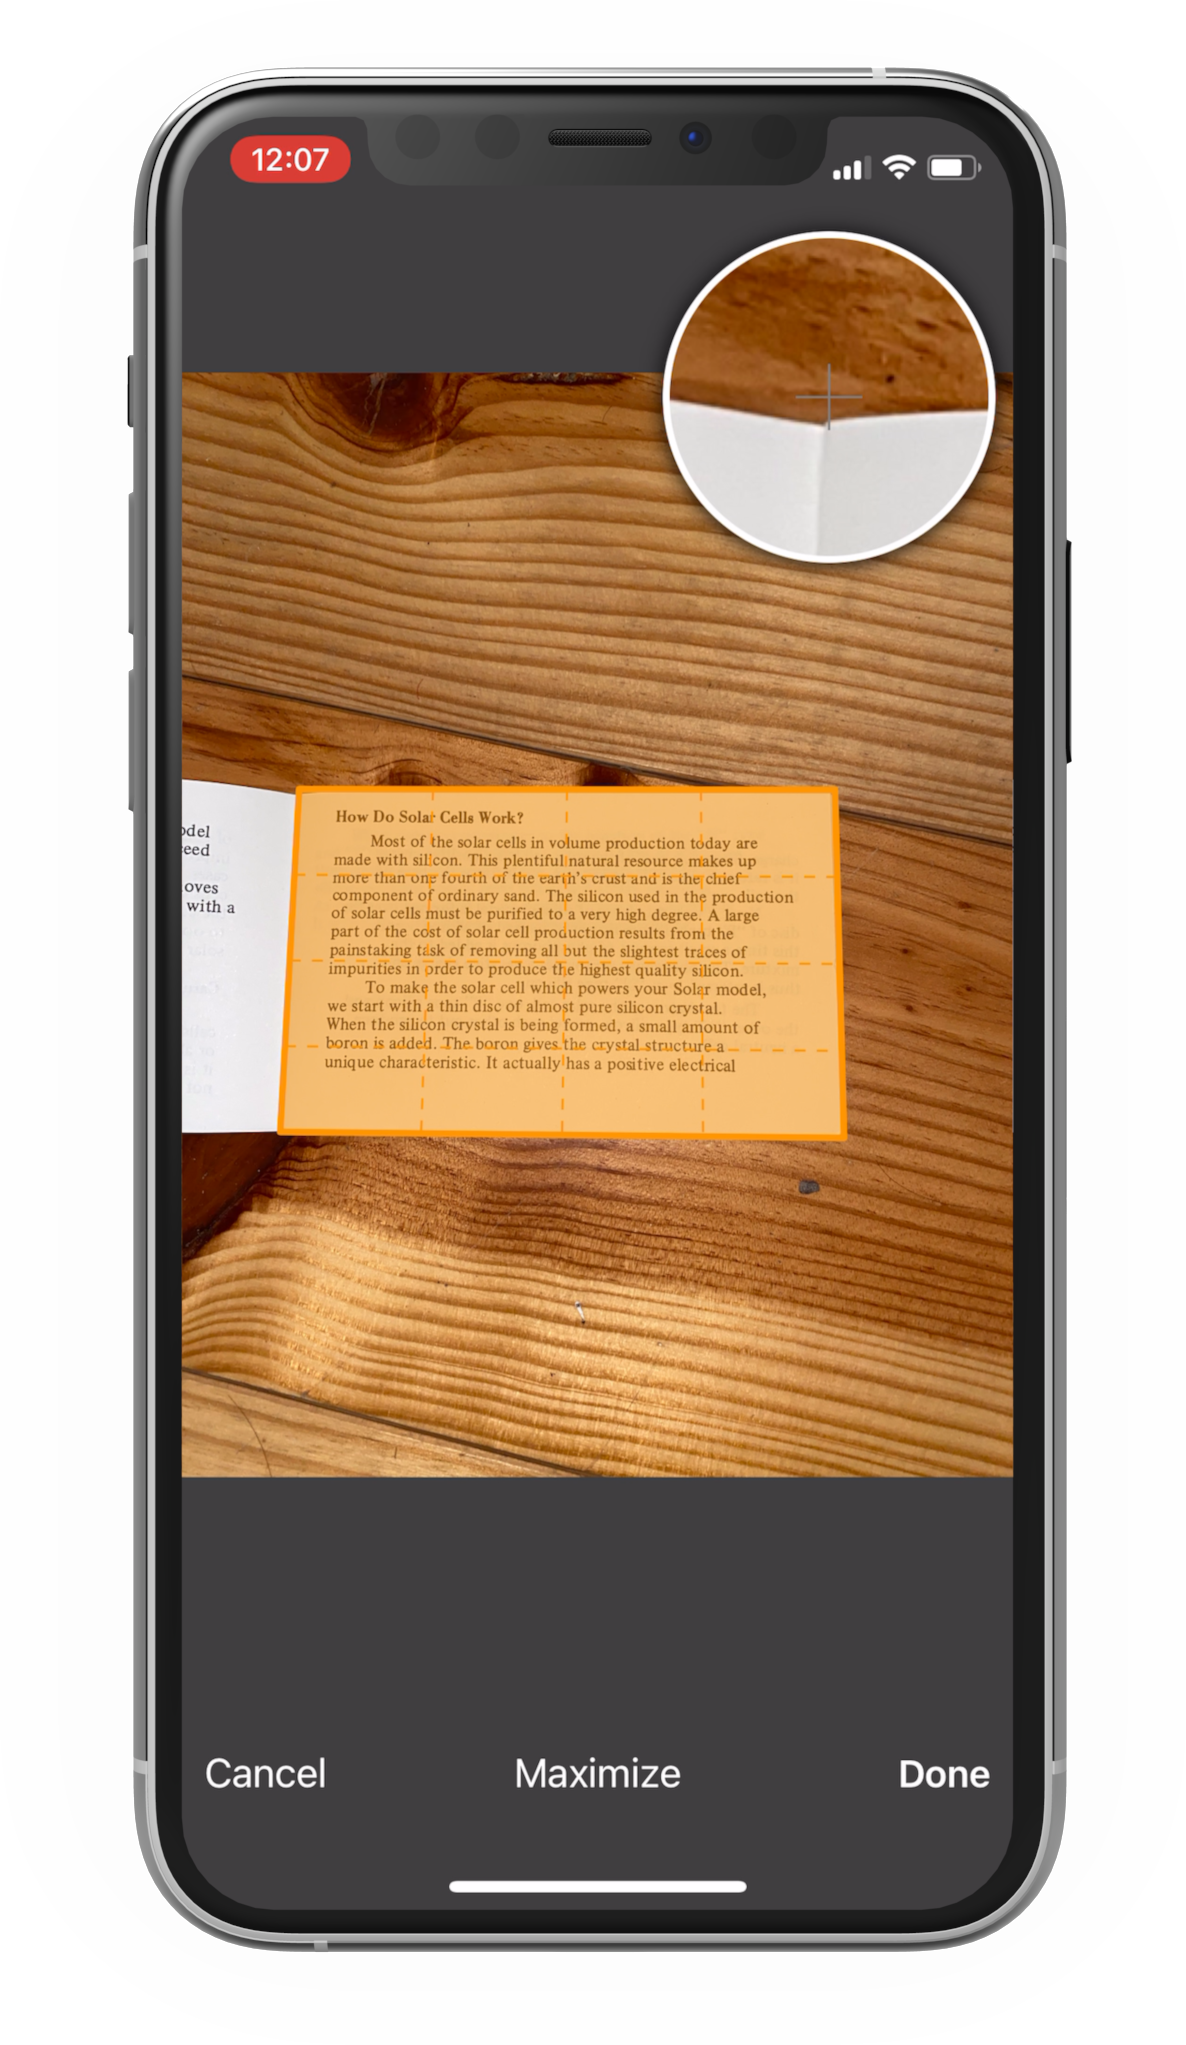
The Genius Scan SDK enables application developers to add a scanning module taking benefit of the power of the same technology embedded in the Genius Scan app. With the custom scanner guide, you can build an interface to your liking while still letting the SDK doing the heavy lifting.
In the context of a custom integration, the SDK provides:
This guide assumes that you have followed the Getting Started guide :
GSSDK.xcframework in your app.We’ve split the document processing operations into two classes: GSKDocumentDetector, which mainly handles the real-time document detection on the camera preview; and GSKDocumentProcessor, which applies various image processing algorithms such as perspective correction and filters to a single scan.
The edge detection takes in an image and returns a quadrangle representing the four corners of the detected document.
let documentDetector = GSKDocumentDetector(configuration: .defaultConfiguration)

let result = try documentDetector.detectQuadrangleInImage(image,  options: [])
let quadrangle = result.quadrangle
The GSKDocumentProcessor class takes an image as input and a list of operations to apply to this image. It returns a result object containing the processed image, and the enhancements that it applied.
The SDK can apply the following operations to an image:
let image = …

// If previous code already applied the detection, we have a quadrangle:
let quadrangle = …

let perspectiveCorrectionConfiguration = GSKPerspectiveCorrectionConfiguration.withQuadrangle(quadrangle)
let curvatureCorrectionConfiguration = GSKCurvatureCorrectionConfiguration.withCurvatureCorrection(true)
let enhancementConfiguration = GSKEnhancementConfiguration.withFilter(.blackAndWhite)

let result = try GSKDocumentProcessor().processImage(
    originalImage,
    perspectiveCorrectionConfiguration: perspectiveCorrectionConfiguration,
    curvatureCorrectionConfiguration: curvatureCorrectionConfiguration,
    enhancementConfiguration: enhancementConfiguration,
    rotationConfiguration: .automatic(),
    readabilityConfiguration: .enabled(),
    outputConfiguration: .defaultConfiguration
)

let image = UIImage(contentsOfFile: result.processedImagePath)
The PDF generation module provides a couple objects to generate a PDF file.
An object wrapping the information to create a PDF page.
let page = GSKPDFPage(
    filePath: imageFilePath,
    inchesSize: GSKPDFSize(width: 8.27, height: 11.69) /* size in inches for an A4 sheet */
)
A PDF document representing a collection of PDF pages.
let page1 = GSKPDFPage(…)
let page2 = GSKPDFPage(…)

let document = GSKPDFDocument(title: title, password: nil, keywords: nil, pages:[ page1, page2 ])
The generator takes in a PDF document and offers the ability to write the PDF file.
let configuration = GSKDocumentGeneratorConfiguration(
    outputFilePath: "…"
)
try GSKDocumentGenerator().generate(document, configuration: configuration)
The “capture” view displays a camera preview. It takes care of setting up the entire camera stack with automatic capture for you. The view comes free of buttons or any UI element so that you can design it as you want. You will need to take care of this in your implementation.

You subclass GSKCameraViewController and you can customize it as desired. You can refer to the CameraViewController class in the GSSDKDemo for an example.
Note that GSKCameraViewController sets up a cameraView that takes the entire screen. To add toolbars or other buttons, in your subclass’ viewDidLoad, take control of the layout by disabling the cameraView’s autoresizing mask: cameraView.translatesAutoresizingMaskIntoConstraints = false.
The edit frame screen lets the user adjust the auto-detected edges of a document.

You subclass GSKEditFrameViewController and you can customize it as desired. You can refer to the EditFrameViewController class in the GSSDKDemo for an example.
The OCR module provides a way to extract text and its layout from scanned images. The extraction outputs the text in two different formats: raw text and XML containing both the text and its layout (also called hOCR). It’s then possible to generate a PDF document using this information to make it searchable and selectable.
Specify the language you want to use to perform OCR with BCP-47 codes in languageTags property. We recommend setting the smallest number of languages as the text recognition time will increase linearly with the number of requested languages.
All common languages are supported: list of supported languages
let ocrConfiguration = GSKOCRConfiguration.configuration(languageTags: ["en-US"])

let result = try await GSKOCR.recognizeText(
    forImageAtPath: filePath,
    ocrConfiguration: ocrConfiguration,
    onProgress: { _ in }
)

let textLayout = result.textLayout
PDF generation allows a text layout to be provided for each page of the document.
let page = GSKPDFPage(filePath: imageFilePath, inchesSize: .A4, textLayout: textLayout)
// Generate PDF as described above
By default, the PDF generation uses a standard font which supports English and Western European languages characters. If you perform text recognition for another language, you need to specify a font supporting this language’s characters when generating the PDF document.
© 2025 The Grizzly Labs. All rights reserved.